Full Software Installation Guide
STEP 1 — Extract the Installer Files
- Right-click the downloaded ZIP file and select Extract All.
- Extract the contents to a folder of your choice, then open that folder.
STEP 2 — Run the Installer
Double-click the file named "Setup" to begin.
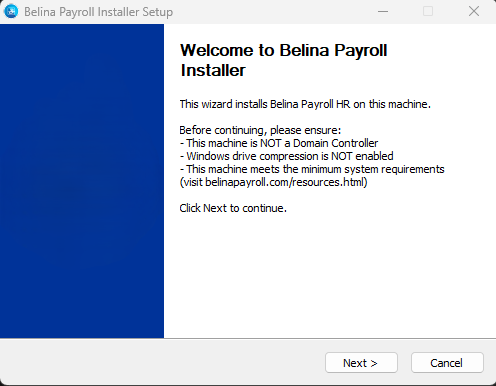
If prompted by Windows User Account Control (UAC), click Yes to allow it to run and you will see the Welcome screen. Click Next to continue.
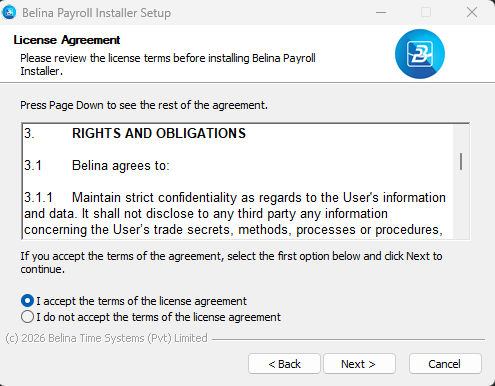
Step 3 — Review the License Agreement Terms
Proceed to review the license terms before installing Belina on your machine. If you agree to the terms, proceed to click "I accept the terms of the license agreement" and click Next to contin
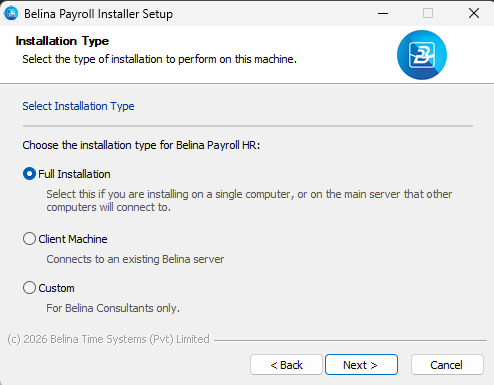
STEP 4 — Select your Installation Type
When prompted, select the installation type that applies to your situation:
Full Installation
Sets up Belina Payroll HR as a standalone machine or as the main server that other workstations will connect to.
Select "Full Installation" as the installation type then click Next to proceed.
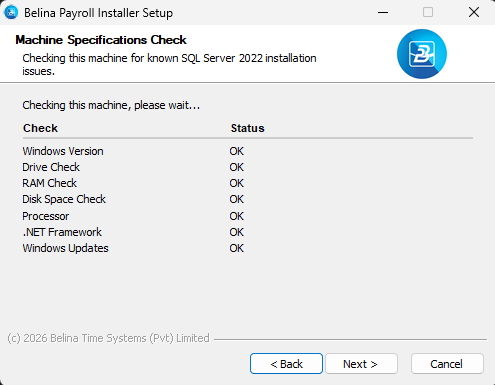
A "Machine Specifications Check" will automatically scan the machine to confirm if it meets the requirements for the installation to complete successfully. After all the checks have completed, you will be able to click Next to proceed.
An optional window will appear for selecting a folder that contains your payroll backups. Click on Browse to select a folder with the most recent payroll backups. If you do not have any backups to restore, you may leave the field empty and click Next to proceed.
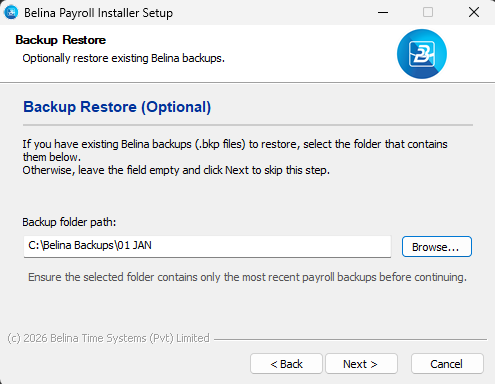
Click Next to continue.
Set a username and password for logging in to Belina.
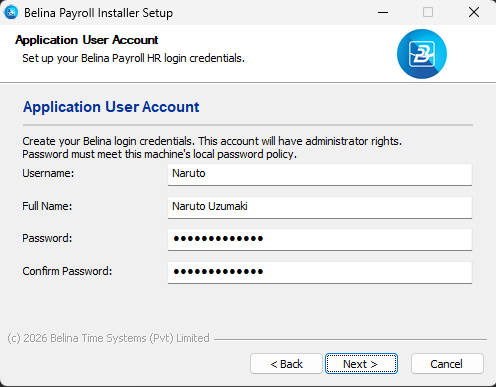
The installation will then run automatically. Do not close the window while the installation is in progress.
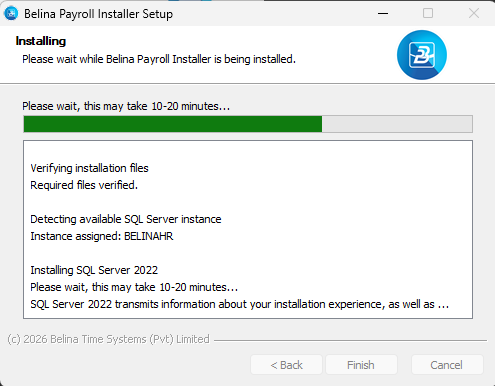
After installation, a file called BELINA_NETWORK_INFO.txt will be created in the installer folder. Keep this file, you will need it when setting up any client workstations.
Client Machine Installation
Connects a workstation to an existing Belina server on your network. You will be prompted to enter the server details for the installation to proceed.
Select "Client Machine" as the installation type then click Next to proceed.
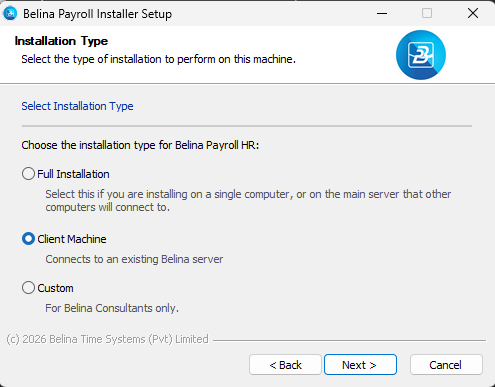
Enter the Server Name, Server IP Address, and Server TCP Port exactly as they appear in the BELINA_NETWORK_INFO.txt file. Below is an example of how the information will be appearing:
NETWORK CONNECTION INFORMATION
 Instance. . . . . . . . . . . FOOTERSSERVER\BELINAHR
 TCP Port. . . . . . . . . . . 1993
 IP Address. . . . . . . . . . 192.168.1.10

 When logging in to Belina, use the server name:
   FOOTERSSERVER\BELINAHR,1993
   or
   192.168.1.10\BELINAHR,1993
Proceed to enter the Instance as the Server name, enter the TCP Port and the IP Address then click Install.
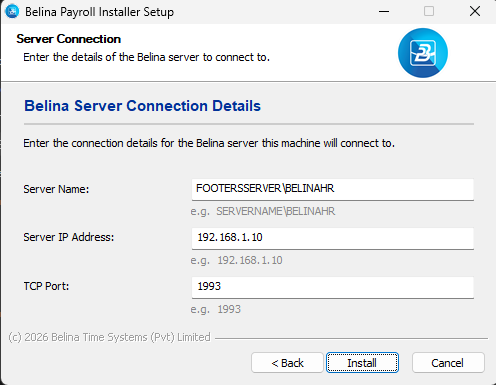
The installation will then run automatically.
STEP 5 — LAUNCH BELINA PAYROLL HR
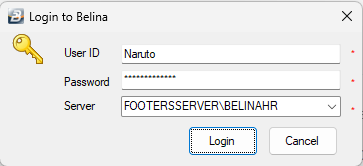
Open the Belina Payroll application from your desktop or Start menu.Proceed to enter the username and the password that you set during installation. Under Server - click on the drop down and select the Server name then click Login.
Troubleshooting
If the installation window closed with an error, note the error message and contact Belina support. Do not run the installer again without guidance.
Was this page helpful?